Installing Low Voltage Outdoor Lighting
When it comes to enhancing the appearance of your outdoor space, low voltage outdoor lighting can make a big impact. Not only does it add a beautiful ambiance to your yard or garden, but it also improves safety and security by illuminating pathways and deterring potential intruders. Plus, with low voltage lighting, you can easily install and customize your setup without the need for an electrician.
If you're considering installing low voltage outdoor lighting, follow these simple steps to get started.

Planning Your Lighting Design
When planning your outdoor lighting design, consider the layout and focal points of your space to enhance its aesthetic appeal and functionality.
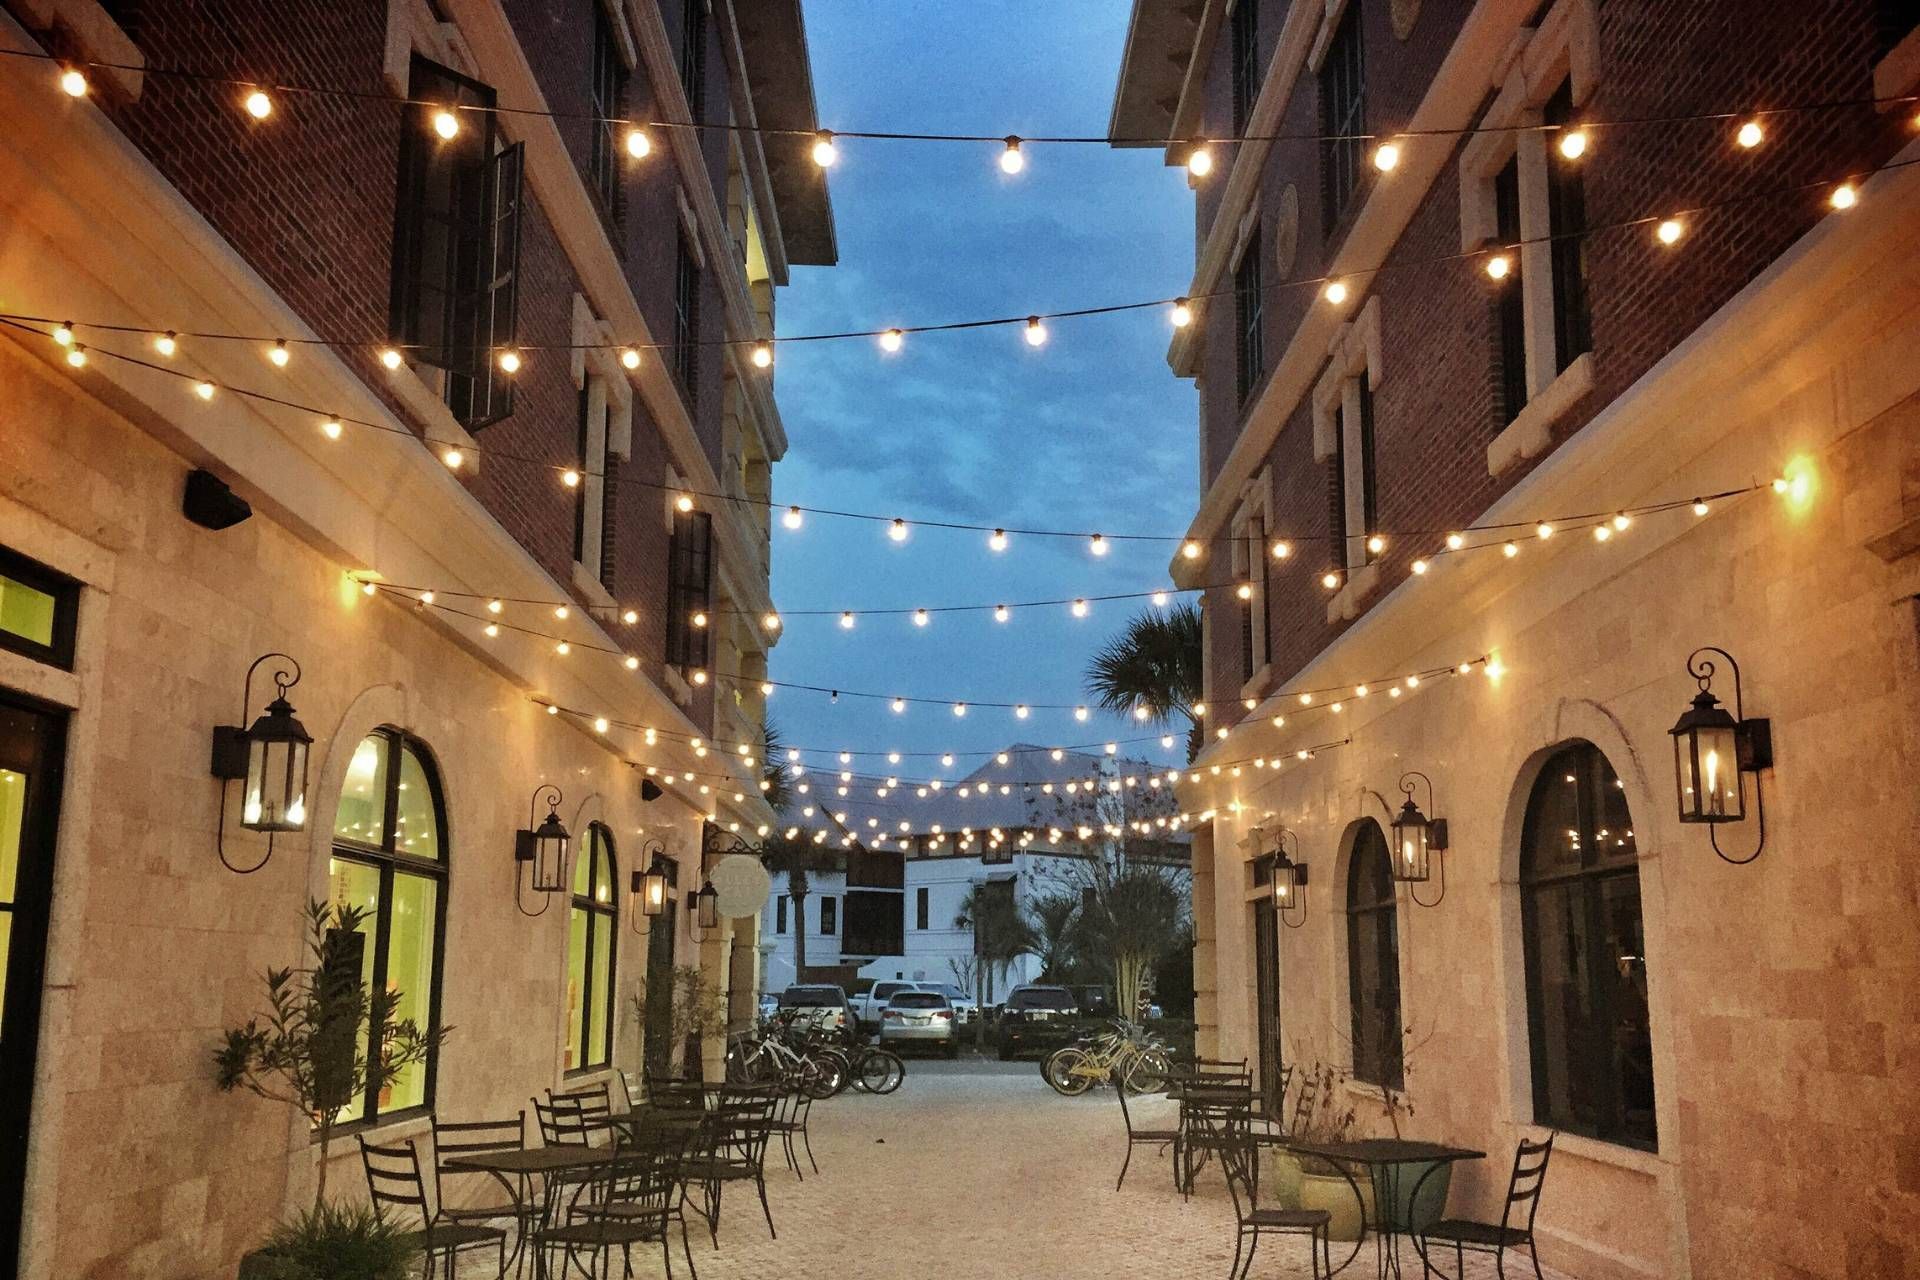
Start by choosing fixtures that complement the style of your outdoor area. Whether you opt for sleek modern lights or classic lanterns, selecting the right fixtures can greatly impact the overall look.
Additionally, think about creating ambiance with your lighting. Soft, warm lighting can create a cozy atmosphere for relaxing evenings outdoors, while brighter lights may be more suitable for entertaining guests or ensuring safety along pathways.
Gathering Necessary Tools and Materials
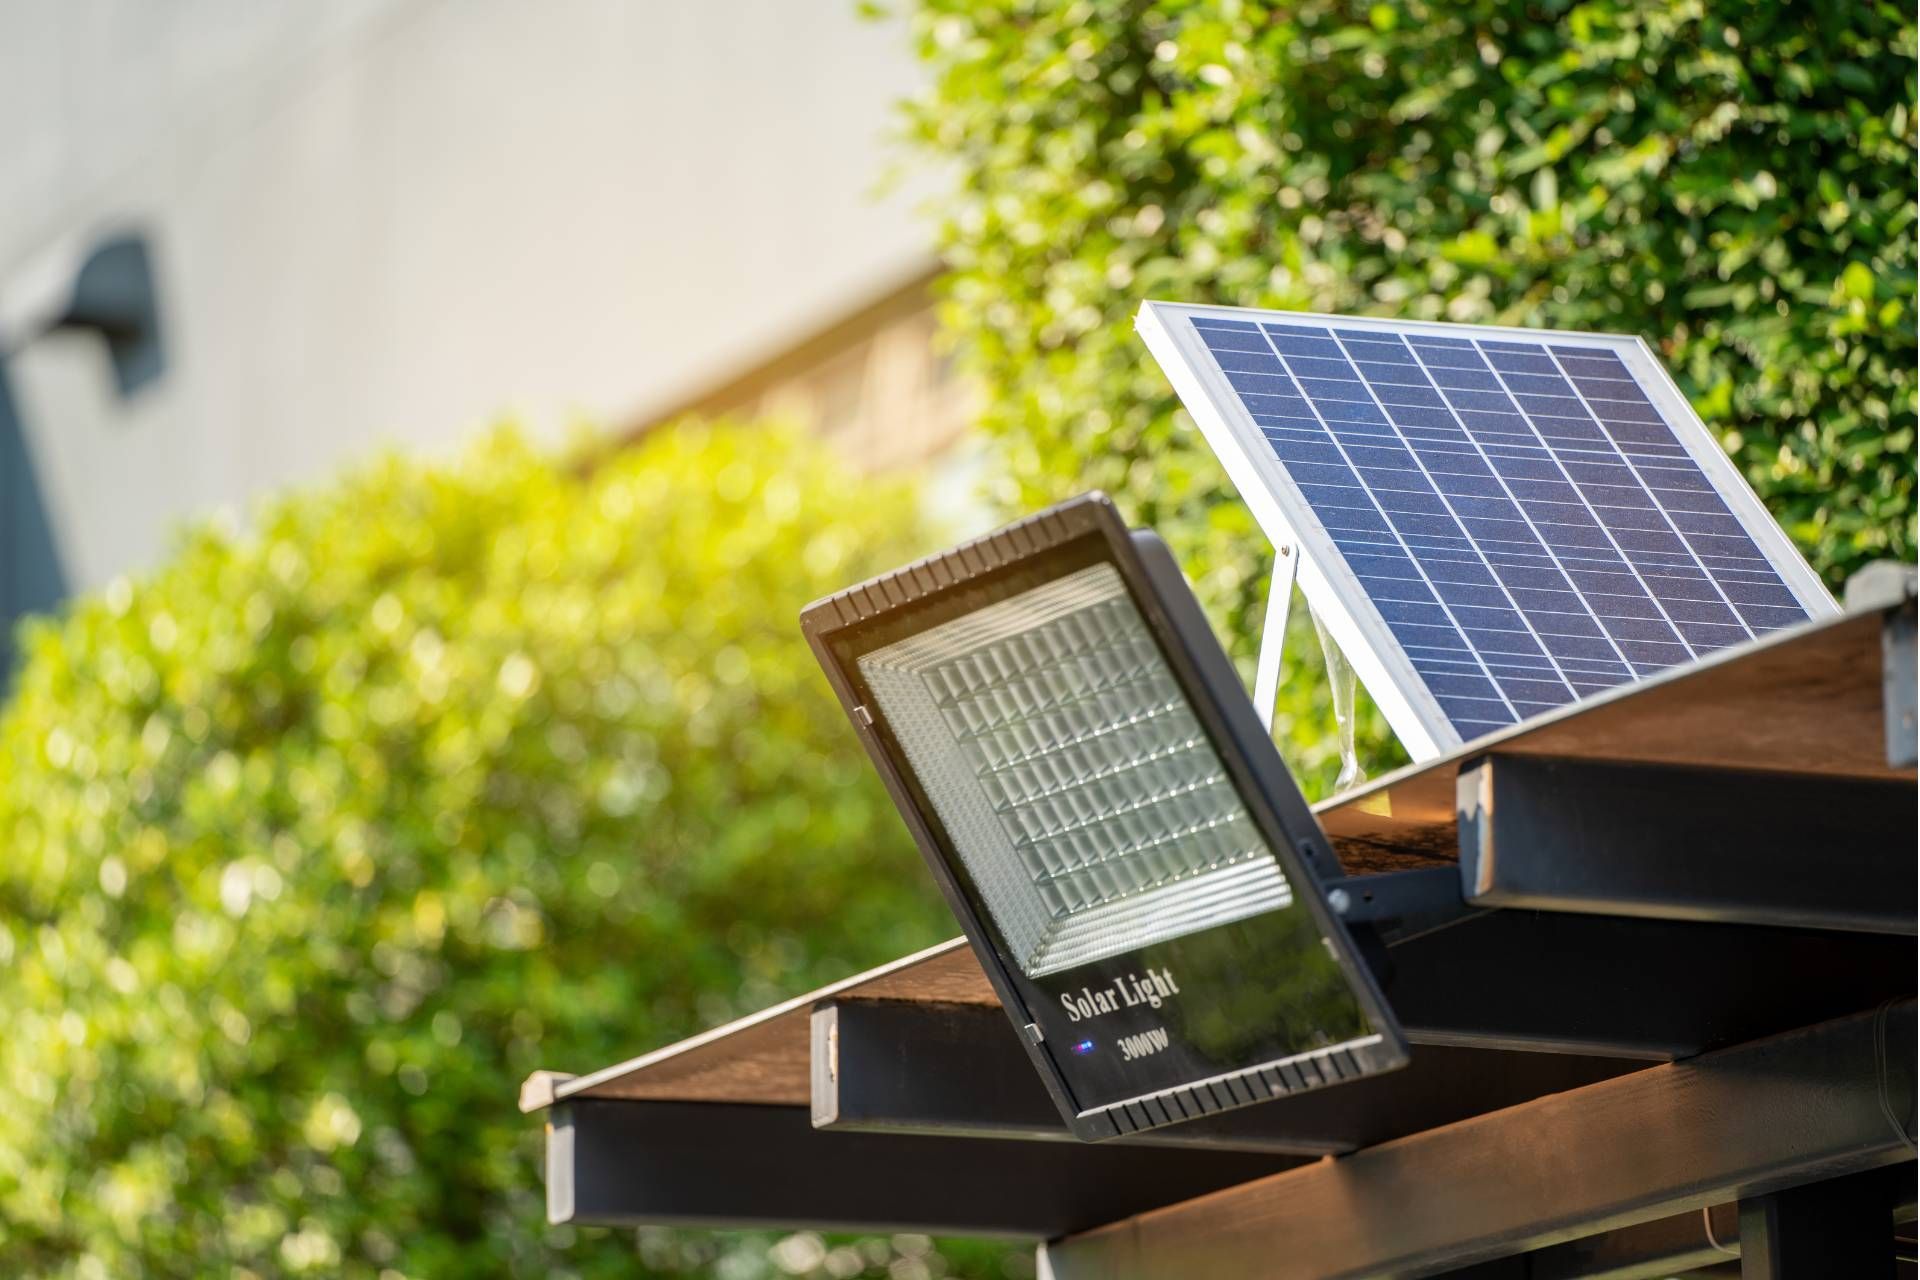
To proceed with your low voltage outdoor lighting installation, you'll want to gather the necessary tools and materials essential for the project's success. When choosing fixtures, consider the style of your outdoor space and the type of lighting effect you want to achieve. Whether you opt for path lights, spotlights, or accent lights, ensure they're suitable for outdoor use and compatible with low voltage systems.
The first step in gathering necessary tools and materials for low voltage outdoor lighting is to make a list of everything you will need. This will depend on the specific layout and design of your outdoor space, but some common items to consider are:
1. Low voltage outdoor lighting fixtures: Choose fixtures that are rated for outdoor use and designed for low voltage systems. Options include path lights, spotlights, deck lights, and more.
2. Low voltage transformer: This device will step down the standard 120-volt household electricity to the lower voltage required for outdoor lighting systems. Make sure to select a transformer that is rated for the total wattage of your lighting system.
3. Low voltage cable: This cable will connect the fixtures to the transformer and carry the low voltage electricity. Choose a cable that is UV resistant and burial grade for outdoor use.
4. Wire connectors: These are essential for connecting the fixtures to the cable and ensuring a secure and weatherproof connection.
5. Mounting hardware: Depending on the type of fixtures you choose, you may need mounting hardware such as stakes, brackets, or screws.
6. Wire strippers and wire cutters: These tools will be necessary for stripping and cutting the low voltage cable to the appropriate length.
7. Drill and bits: If you need to create holes for mounting the fixtures or running the cable, a drill and appropriate bits will be essential.
8. Gloves and safety goggles: Safety should always come first when working with electricity and tools, so be sure to wear appropriate safety gear.
Sourcing materials is a crucial step in preparing for your outdoor lighting project. You'll need fixtures, low voltage cables, connectors, a transformer, a timer, and possibly a remote control for added convenience. Make sure to select high-quality materials that are designed to withstand outdoor conditions and provide long-lasting performance.
Before you begin, check that you have all the necessary tools on hand. Typical tools required for installing low voltage outdoor lighting include a shovel for burying cables, wire strippers for preparing cables, a screwdriver for securing fixtures, and a hammer for stakes or ground mounts. By gathering the right tools and materials, you set yourself up for a smooth and successful installation process.
Installing the Transformer
Consider carefully the placement of the transformer as it's a critical component in your low voltage outdoor lighting system. When installing the transformer, ensure it's positioned close to a power outlet to meet its power requirements effectively. The transformer placement should also consider accessibility for maintenance and safety concerns.
Before proceeding, confirm that the voltage output of the transformer matches the requirements of your low voltage outdoor lighting fixtures to prevent damage and ensure optimal performance.
For safety precautions, always install the transformer in a dry and well-ventilated area to prevent overheating and potential electrical hazards. Additionally, make sure the transformer is mounted securely on a stable surface to avoid any accidents or disruptions to your lighting system.
It's important to follow manufacturer instructions carefully to ensure proper installation and operation of the transformer. By paying attention to transformer placement, power requirements, voltage output, and safety precautions, you can set a solid foundation for your low voltage outdoor lighting system.
Wiring Your Low Voltage Lighting System
Position the wiring for your low voltage lighting system strategically to ensure efficient connectivity and optimal performance. When wiring your low voltage lighting system, always prioritize voltage safety to prevent any electrical hazards. Make sure to use cables specifically designed for low voltage outdoor lighting to maintain a safe and reliable connection. Proper cable management is crucial in ensuring that the wiring is organized and protected from potential damage.
To enhance voltage safety, bury the cables at least 6 inches underground or encase them in conduit to shield them from external elements. Be cautious when handling the wiring and always turn off the power supply before making any connections. When setting up the wiring, plan the layout carefully to avoid any potential tripping hazards and to streamline the installation process. Additionally, label the cables accordingly to simplify maintenance and troubleshooting tasks in the future.
Efficient cable management not only enhances the aesthetics of your outdoor space but also contributes to the longevity and functionality of your low voltage lighting system.
Placing and Testing the Fixtures
When placing and testing the fixtures, ensure they're securely fastened and properly aligned for optimal lighting performance. Proper fixture positioning is crucial for achieving the desired lighting effects in your outdoor space. Start by securing the fixtures in the designated locations using the appropriate mounting hardware. Ensure that the fixtures are positioned in a way that directs light where it's needed while avoiding glare or shadows.
Testing techniques are essential to guarantee that your outdoor lighting system functions correctly. Once the fixtures are in place, connect the wiring according to the manufacturer's instructions. Test each fixture individually to ensure they illuminate as expected. Check for any flickering lights or dim areas that may indicate loose connections or faulty fixtures.
After testing, make any necessary adjustments to the fixture positioning to achieve the desired lighting effects. Properly aligned fixtures will enhance the aesthetics of your outdoor space and improve visibility during the night. Regularly inspect and test your fixtures to maintain optimal performance and ensure the safety of your outdoor lighting system.
Achieving the best outdoor lighting
Woods Luminaires offer a wide range of outdoor lighting options that are designed to suit every style and need. Whether you are looking to illuminate a pathway, highlight your landscaping, or create a cozy ambiance in your outdoor living space, Woods Luminaires has a solution for you.
Upgrade your outdoor lighting with
Woods Luminaires today and enjoy your outdoor oasis in a whole new light.